What Are the E.max Veneers Procedure Steps in 2026?
Learn the complete emax veneers procedure steps, from consultation to bonding, and see why Charming Smiles of Ocoee is trusted for lasting results.
Key Takeaways
- E.max veneers require tooth preparation that removes 0.6mm on the front surface and 0.7mm at the biting edge—this is permanent, so understand the commitment before proceeding with treatment.
- Most E.max veneer treatment completes in 2-3 appointments: consultation, tooth preparation with temporary veneers, and final bonding; lab turnaround typically takes 1-2 weeks for custom veneers.
- During the try-in appointment before permanent bonding, speak up about any concerns with fit, shade, shape, or bite—this is your last chance to request adjustments before irreversible bonding.
- Protect your E.max veneers long-term by wearing a night guard if you grind your teeth, using a soft-bristled toothbrush, avoiding hard foods like ice, and attending regular dental checkups.
- Good candidates for E.max veneers need healthy gums, no active decay, sufficient natural enamel, and a stable bite; patients with severe grinding or thin enamel may need preliminary treatment first.
- Moisture control during permanent bonding is critical—even small amounts of saliva can weaken the bond, which is why experienced dentists use isolation tools throughout the entire bonding process.
Thinking about getting E.max veneers but not sure what actually happens in the dentist's chair? You are not alone. Many of our patients at Charming Smiles of Ocoee come in with the same questions about how many visits they need, whether it hurts, and what happens to their real teeth underneath. The good news is that once you understand the steps, the whole process feels a lot less mysterious and a lot more exciting.
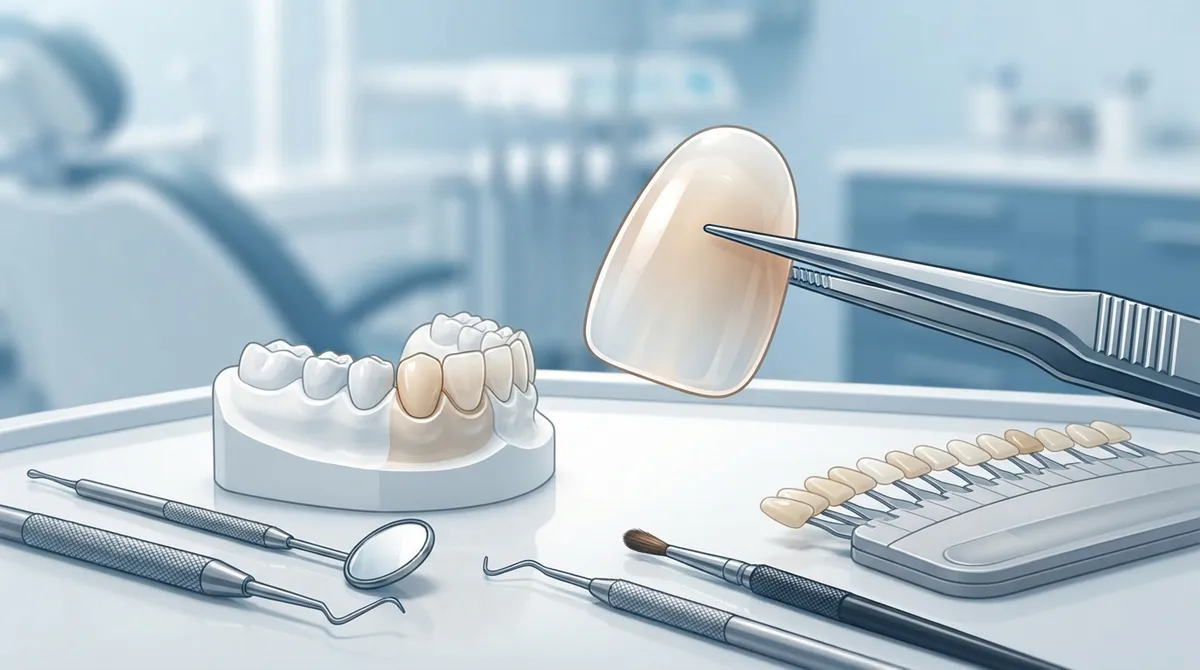
E.max veneers are thin, custom-made shells crafted from a strong ceramic called lithium disilicate. They cover the front of your teeth to fix color, shape, chips, and small gaps. Whether you are a busy parent squeezing in appointments between school pickups or someone who has always dreamed of a camera-ready smile, knowing the emax veneers procedure steps ahead of time can ease your nerves and help you plan. Let's walk through exactly what to expect, from your first consultation to the moment you see your brand new smile in the mirror.
What Are E.max Veneers, Exactly?
E.max veneers are made from lithium disilicate ceramic, a material dentists often call IPS e.max Press or IPS e.max CAD. This ceramic is known for being both strong and beautifully translucent, which means it can mimic the natural glow of real enamel. That is a big reason why so many Veneers patients ask for this material by name.
These veneers are bonded to the front surface of your teeth. They can quietly correct things like:
- Discoloration that whitening treatments could not fully fix
- Chipped or worn-down edges
- Small gaps between teeth
- Uneven or oddly shaped teeth
- Teeth that look too short or too long
Because E.max veneers require some removal of tooth enamel, they are considered a long-term commitment rather than a quick fix. That is exactly why understanding each step matters so much before you start.

Step 1: Your Consultation and Smile Evaluation
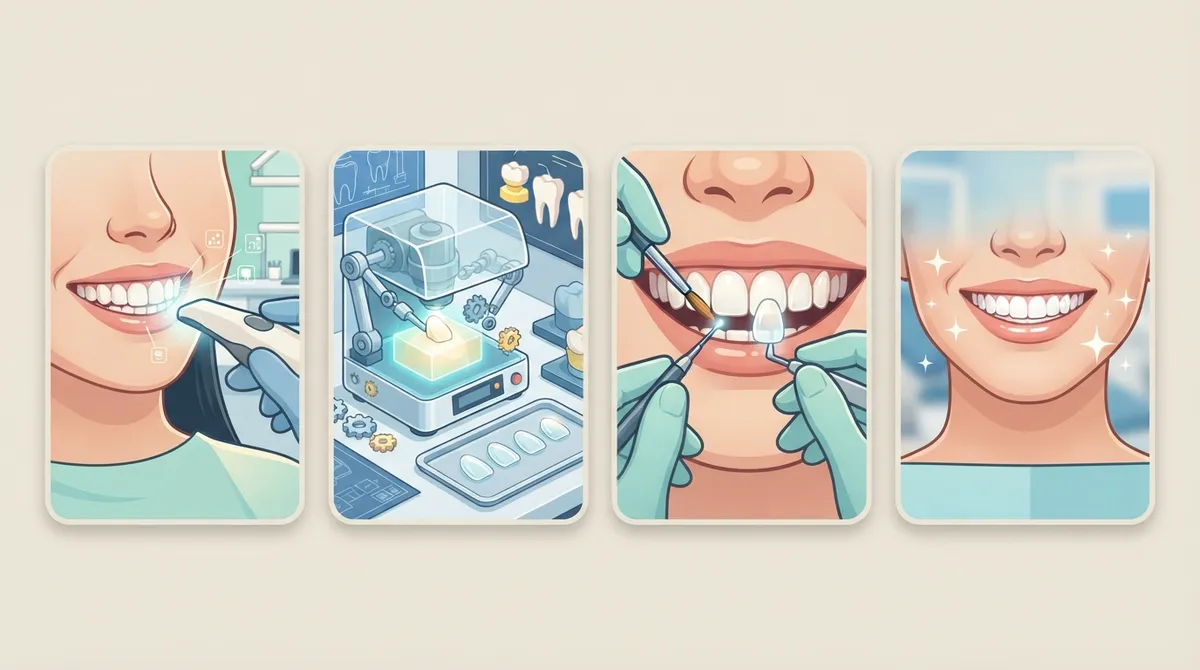
Every great smile transformation starts with a conversation. During your first visit, Dr. Aliuska Lopez will examine your teeth, gums, and bite. She will also look at any existing fillings or crowns and check your overall oral hygiene.
This visit usually includes:
- A visual exam of your teeth and gums
- Photographs of your smile from different angles
- Digital scans or impressions of your teeth
- X-rays, if needed, to check for decay or bone issues
- A conversation about your goals, worries, and budget
This is also the perfect time to ask about insurance & financing options or our dental savings plan. Many families in Ocoee like knowing there are flexible ways to pay before they commit to treatment.
Step 2: Smile Design and Treatment Planning
Once we know your teeth are healthy enough for veneers, the fun part begins. This is where we design your new smile together.
During this stage, your dentist may use:
- A wax-up model showing your proposed new smile
- A mock-up you can actually try in your mouth
- Digital smile design software to preview results on a screen
- Shade matching to pick the perfect white
You will talk about shape, length, and how translucent you want your veneers to look. Some patients want a bright, uniform Hollywood smile. Others prefer something more natural that still looks like their own teeth, just better. There is no wrong answer here. This step is all about making sure the final result matches what you actually pictured.
Step 3: Tooth Preparation (The Irreversible Part)
Here is the part patients ask about most. Tooth preparation for E.max veneers is usually conservative, but it is permanent. Your dentist removes a very thin layer of enamel from the front of each tooth to make room for the veneer.
According to published E.max clinical guidelines, dentists typically aim for around 0.6 mm of reduction on the front surface and about 0.7 mm at the biting edge when that edge is included in the design. These numbers can shift slightly depending on your tooth position, your bite, and how much natural enamel you have to work with.
Local anesthesia is usually used during this step so you stay comfortable. Many patients say they feel pressure but no real pain. If you deal with dental anxiety, our general dentistry team can talk with you about ways to make this part of the visit easier, including calming amenities like soft music and aromatherapy in the treatment room.
Step 4: Digital Scans, Impressions, and Temporary Veneers
After your teeth are prepped, we need an accurate record of their new shape. This can be done with a traditional impression or a digital scan, depending on the technology used.
Your dentist will send the lab:
- Digital scans or physical impressions of your prepared teeth
- Photographs showing your natural shade and facial features
- Bite records so your new veneers fit your chewing pattern
- Detailed notes on the design you approved earlier
While the lab crafts your custom veneers, you will usually wear temporary veneers. These protect your prepared teeth and give you a sneak peek of your future smile. Most patients wear temporaries for about one to two weeks, though this can vary based on lab turnaround and the complexity of your case.
Step 5: The Try-In Appointment
This is where things start to feel real. When your final E.max veneers arrive from the lab, you will come back for a try-in appointment before anything is permanently bonded.
During this visit, your dentist checks:
- How well each veneer fits along the gum line
- Whether the shade matches your surrounding teeth
- The shape and symmetry of your new smile
- How the veneers feel when you talk (phonetics matter more than people expect)
- Your bite and how your teeth come together
If anything needs a small adjustment, this is the time to speak up. Your comfort and confidence in the final look matter just as much as the technical fit.
Step 6: Bonding Your E.max Veneers
Once everyone is happy with the fit and appearance, it is time for permanent bonding. This step requires precision, which is why choosing an experienced cosmetic dentist matters so much.
The general bonding process includes:
- Cleaning and isolating each tooth to keep the area dry
- Conditioning the inside surface of the ceramic veneer following the manufacturer's exact instructions
- Applying a bonding agent and resin cement
- Placing the veneer carefully onto the tooth
- Curing the cement with a special light
- Removing any extra cement around the edges
Moisture control is critical here. Even a small amount of saliva at the wrong moment can weaken the bond, which is why your dentist will use tools to keep the area completely dry throughout this step.
Step 7: Finishing, Polishing, and Bite Check
After bonding, your dentist trims away any leftover cement and polishes the edges so everything feels smooth against your tongue and gums. Then comes one more important check: your bite.
You will be asked to bite down normally and side to side. This helps confirm that your new veneers do not interfere with how your teeth naturally come together. If you clench or grind your teeth at night, your dentist may recommend a night guard to protect your investment for years to come.
How Many Appointments Do You Actually Need?
Most patients complete E.max veneer treatment in about two to three appointments. However, timing depends on a few factors.
| Appointment | What Happens | Typical Length |
|---|---|---|
| Consultation | Exam, photos, scans, smile design discussion | 45–60 minutes |
| Preparation Visit | Tooth prep, impressions, temporary veneers placed | 1–2 hours |
| Final Visit | Try-in, bonding, polishing, bite check | 1–2 hours |
Some cases need an extra visit if preliminary treatment, like a filling or gum therapy, is required first. Your dentist will map this out clearly during your cosmetic dentistry consultation so there are no surprises.
Who Makes a Good Candidate for E.max Veneers?
E.max veneers work beautifully for many people, but they are not right for everyone. Your dentist will check for a few things first.
Good candidates usually have:
- Healthy gums with no active periodontal disease
- No untreated cavities or tooth decay
- Enough natural enamel to support the veneer
- A stable, balanced bite
- Realistic expectations about the results
Patients with severe teeth grinding, very thin enamel, or active gum disease may need other treatment first. This could include periodontal therapy or a night guard before moving forward with veneers. Being upfront about your dental history helps your dentist create a plan that actually lasts.
Caring for Your E.max Veneers After Treatment
Your new smile deserves a little extra attention to stay looking its best. The good news is that daily care is not complicated.
- Brush twice a day with a soft-bristled toothbrush
- Floss daily, being gentle around the veneer edges
- Avoid biting extremely hard foods like ice or hard candy
- Wear a night guard if you grind your teeth
- Keep up with routine dental exams and cleanings
- Tell your dentist right away if a veneer feels loose or chipped
One clinical report following IPS e.max Press restorations over more than ten years found excellent long-term survival rates when patients followed good home care and attended regular checkups. That is a strong reason to stick with your general dentistry visits even after your veneers are placed.
Possible Risks to Know About
No dental treatment is completely risk-free, and it helps to know what could happen down the road.
- Temporary sensitivity after the procedure
- Slight discoloration at the margins over time
- A veneer coming loose if bonding is disturbed
- Chipping from biting something too hard
- Extra wear on opposing teeth in rare cases
Choosing an experienced provider dramatically lowers these risks. That is one reason so many patients trust Dr. Lopez, known locally as a true smile expert, to handle their cosmetic treatment with precision and care.
Why Choose Charming Smiles of Ocoee for Your E.max Veneers?
We know getting veneers is a big decision, and we want you to feel confident every step of the way. Our Ocoee, FL office combines advanced dental technology with a calming, spa-like atmosphere designed to ease dental anxiety. From aromatherapy to cozy blankets, we do everything we can to make your visit relaxing.
Curious what other patients think? You can visit us on Google — Charming Smiles of Ocoee to read real reviews from your neighbors right here in Ocoee. You can also check out our Charming Smiles Facebook page or follow our Charming Smiles Instagram page to see real smile transformations from patients just like you.
If you want to explore financing, ask about our payment plans or check our current specials, including a free cosmetic consultation. According to the American Dental Association, choosing a provider who follows manufacturer guidelines closely leads to better long-term outcomes with ceramic restorations like E.max veneers.
Ready to Start Your Smile Journey?
Understanding the emax veneers procedure steps takes a lot of the mystery, and the worry, out of getting a smile makeover. From your first consultation to the final polish, every step is designed to give you results that look natural and last for years. Our team at Charming Smiles of Ocoee is here to guide you through each visit with care, patience, and a whole lot of encouragement.
Ready to see what E.max veneers could do for your smile? Reach out today to schedule your free cosmetic consultation, or feel free to call us at (407) 378-3704 to ask any questions before you book. You can also learn more about our location and find a time that fits your busy Ocoee schedule. Your new smile is closer than you think, and we cannot wait to help you get there.
FAQs
Q: What are the main emax veneers procedure steps?
A: The main steps include a consultation and smile design, tooth preparation, digital scans or impressions, temporary veneers, a try-in appointment, permanent bonding, and a final polish and bite check. Most patients complete this journey in about two to three visits with our team at Charming Smiles of Ocoee.
Q: How many appointments do I need for E.max veneers?
A: Most patients need about two to three appointments total, though this can vary based on your case and lab turnaround time. We will map out your exact timeline during your consultation so you always know what to expect.
Q: Does getting E.max veneers hurt?
A: Not usually! Local anesthesia is typically used during tooth preparation, so most patients feel pressure but not pain. Many of our anxious patients tell us the calming, spa-like atmosphere at our Ocoee office makes the whole visit much easier than they expected.
Q: How much of my natural tooth gets removed for E.max veneers?
A: Preparation is usually conservative, with published guidelines suggesting around 0.6 mm of reduction on the front surface and about 0.7 mm at the biting edge. The exact amount depends on your tooth position, bite, and existing enamel, which your dentist will assess carefully.
Q: How should I take care of my E.max veneers after they are placed?
A: Brush twice daily, floss gently around the edges, and avoid biting very hard foods like ice. Keep up with regular checkups, and let us know right away if you notice any looseness or chipping so we can address it quickly.